

Here’s the thing: flexibility is a passive range of motion, whereas mobility is an active, controlled range of motion. In practice, this means flexibility is your muscle's capacity to be lengthened by an outside force—like gravity, or you pulling on your leg. Mobility, on the other hand, is your nervous system's ability to actually use that range of motion with strength and stability.
Put simply, flexibility is something you have; mobility is something you can do.
Understanding The Core Difference
As coaches, we hear "mobility" and "flexibility" used interchangeably all the time. Honestly, this confusion is one of the biggest reasons busy professionals hit plateaus or get stuck dealing with nagging pains. They are fundamentally different qualities that demand completely different training approaches.
Let’s use a real-world example from the gym floor. Someone with great passive hamstring flexibility can lie on their back and easily pull their straight leg up towards their chest using their hands. Their muscle is lengthening, but an external force—their hands—is creating that range. That's flexibility.
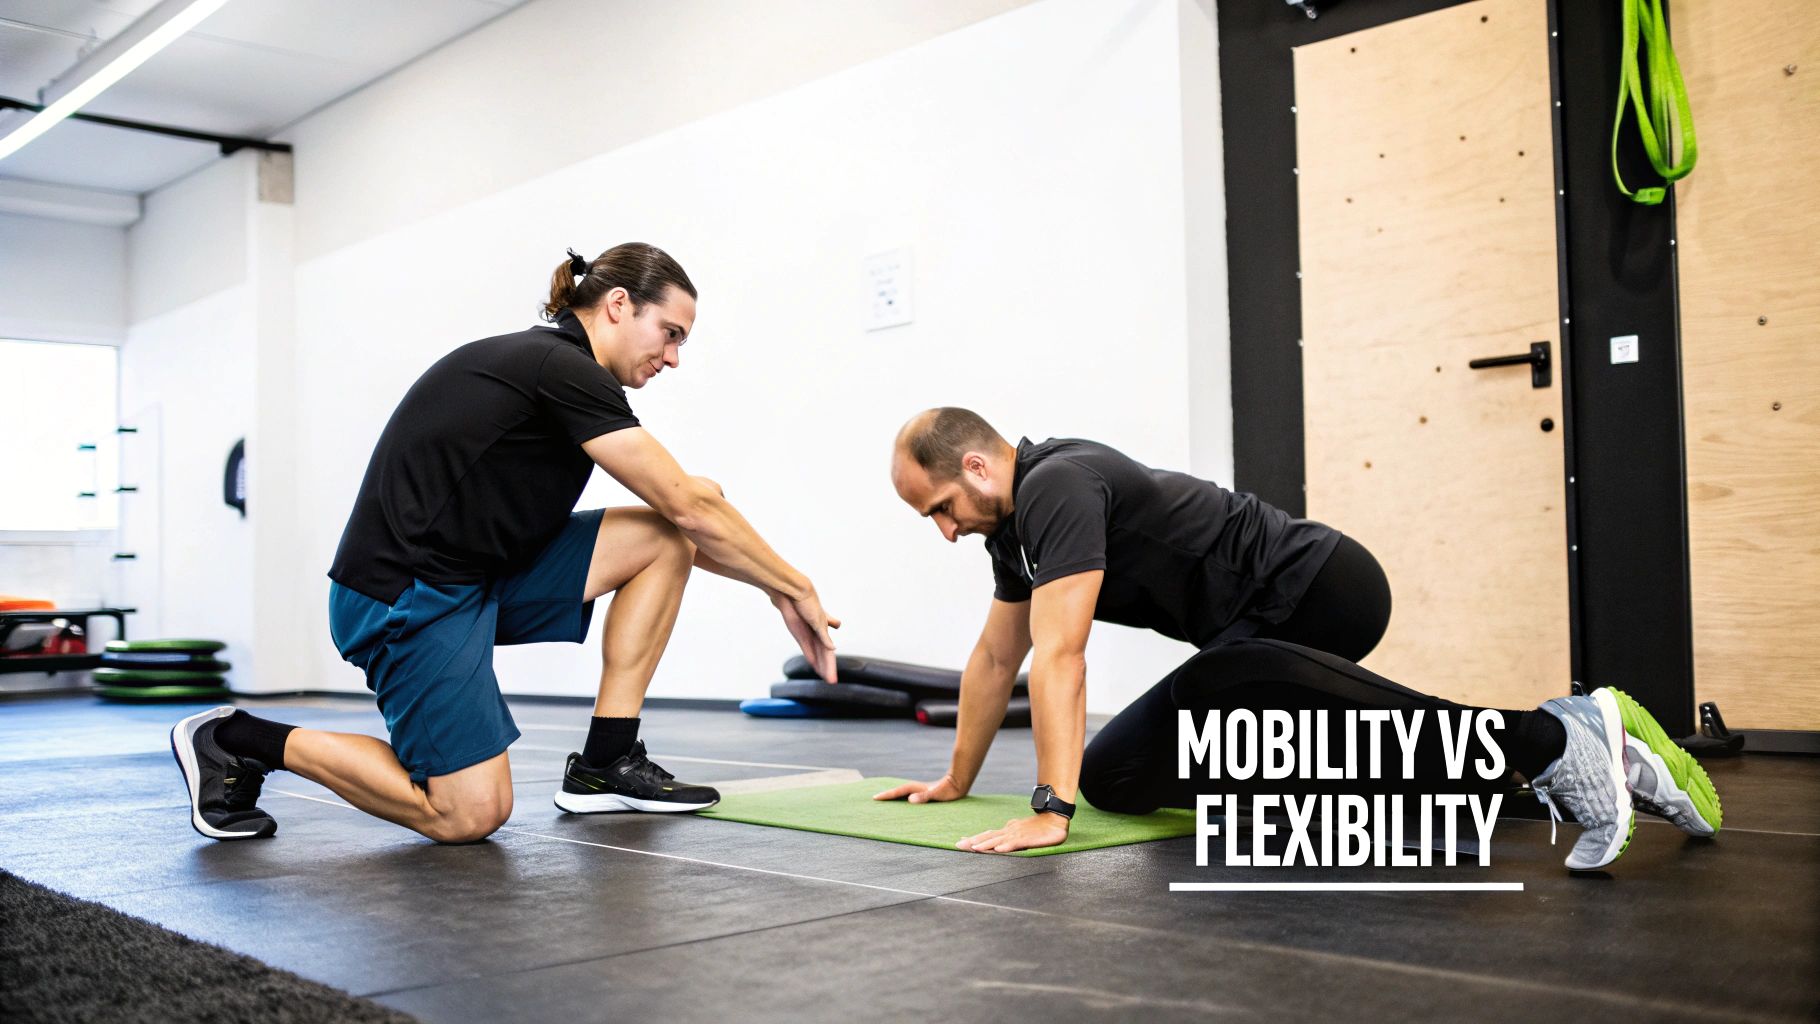
Mobility, however, is being able to lift that same leg toward the ceiling using only the muscles in your hip and leg, with no help at all. That's an active skill that requires not just range, but also muscular strength, stability, and motor control.
Quick Comparison Mobility vs Flexibility
This distinction is mission-critical for anyone serious about getting strong and staying injury-free. A common scenario we see is the client who has decent flexibility but poor mobility. They have the passive range, just not the control over it. This is a performance bottleneck and an injury risk waiting to happen.
This table breaks down the core differences at a glance:
| Attribute | Mobility (Active Control) | Flexibility (Passive Range) |
|---|---|---|
| Definition | Your ability to actively move a joint through its full range of motion with control. | The ability of your muscle and connective tissue to passively lengthen. |
| Nature | Active: This requires strength and neurological control from your body. | Passive: This is achieved with an external force (like gravity, a partner, or your hands). |
| Primary Goal | Improve movement quality, performance, and stability under load. | Increase the passive extensibility of your soft tissues. |
| Real-World Example | A deep, controlled squat where you maintain tension and a solid position from top to bottom. | Reaching down to touch your toes with straight legs and letting gravity pull you down. |
In our coaching, we always prioritize mobility. It’s the usable range of motion that directly translates to better lifts and a lower risk of injury. Having flexibility without the strength to control it is like owning a sports car you don’t know how to drive—all potential, no performance.
To truly understand where you stand, it's worth exploring range of motion testing, including active vs passive range. This type of assessment helps pinpoint exactly where your limitations are.
Ultimately, if you're building a strong, resilient body that performs when you need it to, focusing on active, usable mobility is non-negotiable.
Why Active Mobility Is the Foundation of Strength
Being able to touch your toes is fine, but that's passive flexibility. Active mobility is what lets you pull a heavy deadlift off the floor without your lower back screaming for help. This isn't just semantics; it's the difference between making steady progress and getting caught in a cycle of nagging injuries.
We see this constantly. A client walks in with a background in yoga or dance and can move into some incredible positions passively. But ask them to perform a simple goblet squat or an overhead press, and their stability crumbles under even a light load.
That’s because flexibility is only one piece of the puzzle. If you don't have the strength and motor control to own that range of motion under load, it's just potential you can't use.
Mobility Dictates Your Strength Potential
Think of your joints as the control centres for every movement you make. Your ability to produce force—to express your strength—is completely dependent on how well you can control those joints through their full range. Poor mobility is like having a governor on an engine, limiting your power long before you've hit your max.
For instance, a client with restricted hip mobility will never get deep into a squat cleanly. Their body is smart and will find a workaround, usually by rounding the lower back to hit depth. This compensation doesn't just leak power and limit the weight on the bar; it puts the lumbar spine in a very vulnerable position.
A joint that can’t move well on its own will force other joints to move more to compensate. This is a foundational principle of injury—the problem is rarely where the pain is. It's almost always a result of poor function somewhere else in the chain.
Improving hip mobility isn’t about endlessly "stretching the hips." It’s about teaching the nervous system how to actively control the joint. Once a client develops this control, their squat depth often improves instantly, their core stays tight, and they can finally start adding weight safely. This is one of the clearest examples of how working on movement quality unlocks huge weight training benefits.
From Theory to the Gym Floor
Let's look at how this plays out with the big lifts we coach every day. A lack of mobility is the silent killer behind the most common plateaus and injuries.
- For the Squatter: Limited ankle dorsiflexion (bringing your toes toward your shin) will force your torso to pitch forward. Your squat turns into a "good morning," which hammers the lower back and neglects your quads.
- For the Bench Presser: Can't move your mid-back (thoracic spine)? You won't be able to create a stable arch. This makes it impossible to properly retract your shoulder blades, putting your shoulder joint at risk and slashing your pressing power.
- For the Deadlifter: If you lack good hip mobility, especially rotation, setting up with a neutral spine is nearly impossible. The body will steal that range of motion from the lower back, which is the number one cause of deadlift-related tweaks we see.
So, who needs to focus on this? Everyone who lifts weights. It doesn't matter if you're a beginner learning the ropes or an advanced lifter chasing a new PR.
Is there anyone this is less critical for? Honestly, not if you want to move well and stay pain-free for the long haul. You could argue that a contortionist prioritizes passive flexibility, but even they require an incredible amount of active control to perform without injury.
For the average person in the gym trying to get stronger, build muscle, and improve their body composition, mobility is the non-negotiable operating system that allows your muscles to do their job. Without it, you're building a strong house on a foundation of sand.
How to Properly Assess Your Own Mobility
Being told to "stretch more" is useless advice. You can't fix a problem you haven't identified. Before programming a single drill, we need a baseline. We have to pinpoint exactly where a client's movement restrictions are coming from, and that means systematic screening, not guesswork.
At our gym, we use a handful of simple but incredibly effective screens that tell us almost everything we need to know. Think of these tests not as a judgment of how "good" or "bad" you are, but as diagnostic tools. They give us immediate, actionable insight into your specific limitations so we can get to work.
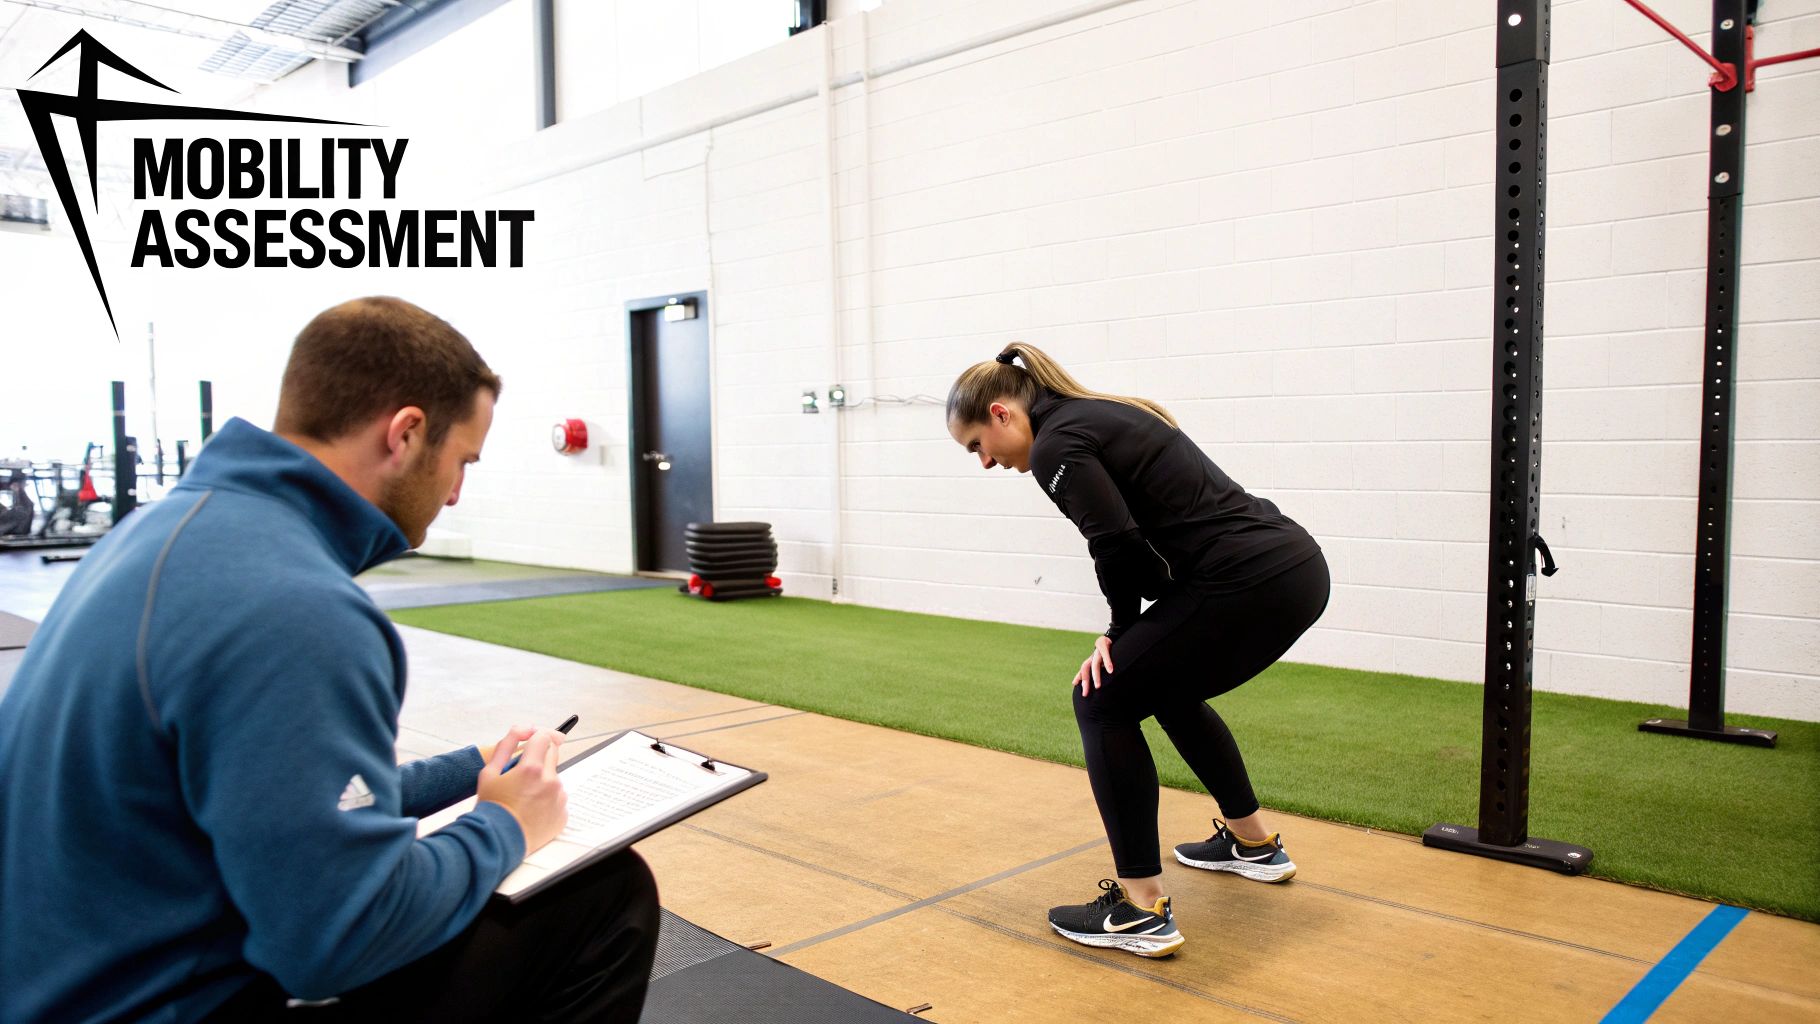
We're not just looking at how far you can move; we’re obsessed with the quality of that movement. Does your body compensate? Is the motion smooth or jerky? Does one side move differently than the other? The real coaching gold is found in these details.
The Overhead Squat Wall Test
This is our go-to screen for a reason. It's a full-body assessment that ruthlessly exposes limitations in the ankles, hips, and thoracic spine—the trifecta of problem areas for most desk-bound professionals.
Here’s how to do it:
- Stand facing a wall, with your feet shoulder-width apart and your toes about 5–10 cm away.
- Raise your arms straight overhead and lock out your elbows.
- Initiate the squat by sending your hips back and down.
- Go as low as you can while keeping your heels flat and arms raised. The goal is to get your hips below your knees without touching the wall or falling over.
What we're looking for:
- Do your heels pop up? That's a classic sign of restricted ankle dorsiflexion.
- Does your chest fall forward or do your hands hit the wall? This points directly to a stiff thoracic spine (mid-back) that can't extend properly.
- Do you lose balance and tip backward? This often signals an issue with core stability or poor motor control in the squat pattern.
This test is fantastic for anyone looking to squat or deadlift safely. It does NOT work well for those with acute knee or lower back pain, as it can be too intense. For a more in-depth look at evaluating movement patterns, a comprehensive structural balance assessment is the logical next step.
The 90/90 Hip Rotation Test
Hip rotation is one of the most undertrained yet critical components of lower body health. It's essential for everything from squatting deep to keeping your knees healthy. This test isolates internal and external hip rotation so we can see exactly what's going on.
Here are the steps:
- Sit on the floor. Bend your front leg to a 90-degree angle directly in front of you, with your shin parallel to your hips.
- Position your back leg bent at a 90-degree angle out to the side. Your thigh should be in line with that hip.
- Sit tall with your torso facing forward and try to lower the sit-bone of your back leg toward the floor.
- Next, hinge forward over your front shin, keeping your spine straight.
Coaching Insight: We're not just looking at how far you can move. We're observing if you have to aggressively lean your torso to one side to find the range. True hip mobility happens when the femur rotates in the socket with minimal compensation from the pelvis and spine.
What this tells us:
- External Rotation (Front Leg): If you can’t get that front shin flat on the floor or have to lean heavily to the side, your external hip rotation is limited.
- Internal Rotation (Back Leg): If you feel a sharp pinch in the front of your back hip or can't get that hip anywhere near the floor, internal rotation is your issue.
This screen is perfect for anyone who feels pinching in their hips during squats or whose knees tend to cave in. It is not, however, a good fit for clients with known hip impingement or labral tears, as it can aggravate the joint. These assessments give you a clear starting point, transforming the vague goal of "improving mobility" into a targeted, effective plan.
How to Integrate Mobility Work into a Busy Schedule
Most of our clients are busy Toronto professionals. The idea of adding another full hour to their week just for mobility is a non-starter. The solution isn’t about finding more time; it’s about programming with intelligence and efficiency. The goal is to seamlessly weave high-impact mobility drills into the strength workouts you’re already committed to.
You don't need massive time commitments to see significant mobility gains. What you need is consistency and strategic placement. We build mobility directly into a client's strength session, turning a standard 60-minute workout into a powerful tool for building both raw strength and high-quality movement.
This integrated approach ensures the work actually gets done. It’s no longer an afterthought or something you’ll "get to later"—it becomes an essential part of the training itself.
The Three Pillars of Integrated Mobility
We use three primary strategies to make this happen without compromising the main goal of getting stronger. Each one makes use of a different part of the workout to maximize efficiency.
- The Dynamic Warm-Up: The first 5-10 minutes of a session are non-negotiable. Instead of mindless cardio, we use this time for targeted drills that directly prepare the joints for the day's main lifts. Think of it as waking up your nervous system and lubricating your joints for what’s ahead.
- Productive Rest Periods ('Fillers'): A typical strength program involves 2-3 minutes of rest between heavy sets. Most people spend this time scrolling on their phones. We put it to good use. By pairing a non-fatiguing mobility drill with a strength exercise, you can accumulate a significant volume of quality movement without adding a single minute to your workout.
- The Strategic Cool-Down: The end of your session is the perfect opportunity to down-regulate your nervous system and restore joint position. This is where we might add a few targeted stretches or breathing drills to kickstart the recovery process.
In practice, this means every minute of your session has a purpose. The warm-up primes you for performance, the rest periods enhance movement quality, and the cool-down facilitates recovery. It’s a complete system, not just a random list of exercises.
A Common Mistake We See
One of the biggest mistakes people make is performing aggressive, long-hold static stretching right before lifting heavy. While it might feel like you’re "loosening up," research shows this can temporarily reduce your power output and decrease joint stability. It actively works against your goal of getting stronger.
Your warm-up must always be active and dynamic. It needs to excite the nervous system and prepare your body for intense work, not put it to sleep. You can save the long, passive holds for after your workout or on your dedicated recovery days.
This is a critical distinction in the mobility vs. flexibility debate. Before you lift, you need active control over your joints (mobility), not just passive range of motion (flexibility).
Sample 60-Minute Session with Integrated Mobility
So, what does this actually look like on the gym floor? Here’s a template showing how a busy professional can effectively combine a tough strength workout with meaningful mobility work in a single, efficient hour.
This table breaks down how each part of the session is optimized for both strength and movement quality.
Sample 60-Minute Session with Integrated Mobility
| Time Block | Activity | Purpose |
|---|---|---|
| 0–10 mins | Dynamic Warm-Up • Cat-Cow (T-Spine) • Hip CARs (Hip Joint) • Ankle Rotations (Ankle Joint) • Goblet Squat Holds |
Prime the specific joints needed for the main lift (squats), increase core temperature, and activate key muscle groups. |
| 10–25 mins | A1) Barbell Back Squat • 3 sets of 5 reps • Rest 2-3 minutes |
Primary Strength Movement. The focus is on progressive overload and perfect technique. |
| Paired With | A2) T-Spine Rotations • 3 sets of 8 reps/side |
Mobility 'Filler'. Improve mid-back rotation during the squat rest period. This is low-fatigue and enhances shoulder/thoracic health. |
| 25–40 mins | B1) Dumbbell Bench Press • 3 sets of 8 reps • Rest 2 minutes |
Accessory Strength. Focus on building muscle and upper body strength. |
| Paired With | B2) 90/90 Hip Switches • 3 sets of 6 reps/side |
Mobility 'Filler'. Actively work on hip internal and external rotation without fatiguing the upper body muscles needed for pressing. |
| 40–55 mins | C1) Barbell Hip Thrusts • 3 sets of 12 reps C2) Face Pulls • 3 sets of 15 reps |
Finisher Superset. Target posterior chain strength (glutes) and shoulder health (rear delts/rotator cuff) with minimal rest. |
| 55–60 mins | Cool-Down • Couch Stretch (Hip Flexors) • Diaphragmatic Breathing |
Restore passive range in commonly tight muscles and shift the nervous system into a recovery state. |
This structure proves that you don't need a separate "mobility day." By programming intelligently, you can build a stronger, more resilient body within the time you already have. Your next step is to look at your current routine and identify where you can replace passive rest with productive movement.
Targeted Drills for Common Mobility Problems
Once you’ve pinpointed your limitations, it’s time to get specific. Generic drills just won't cut it. With our clients, especially those chained to a desk all day, we see the same three culprits pop up again and again: immobile hips, locked-up ankles, and a rigid thoracic spine (your mid-back).
Here, we'll walk you through our go-to exercises for each of these sticky spots. For each area, we'll give you one active mobility drill to build control through your range of motion and one flexibility drill to help improve your passive range. Knowing the difference is everything when it comes to choosing the right tool for the job.
But when you do these drills is just as important as what you do. This chart breaks down our coaching logic on how to time your mobility work to get the best results.
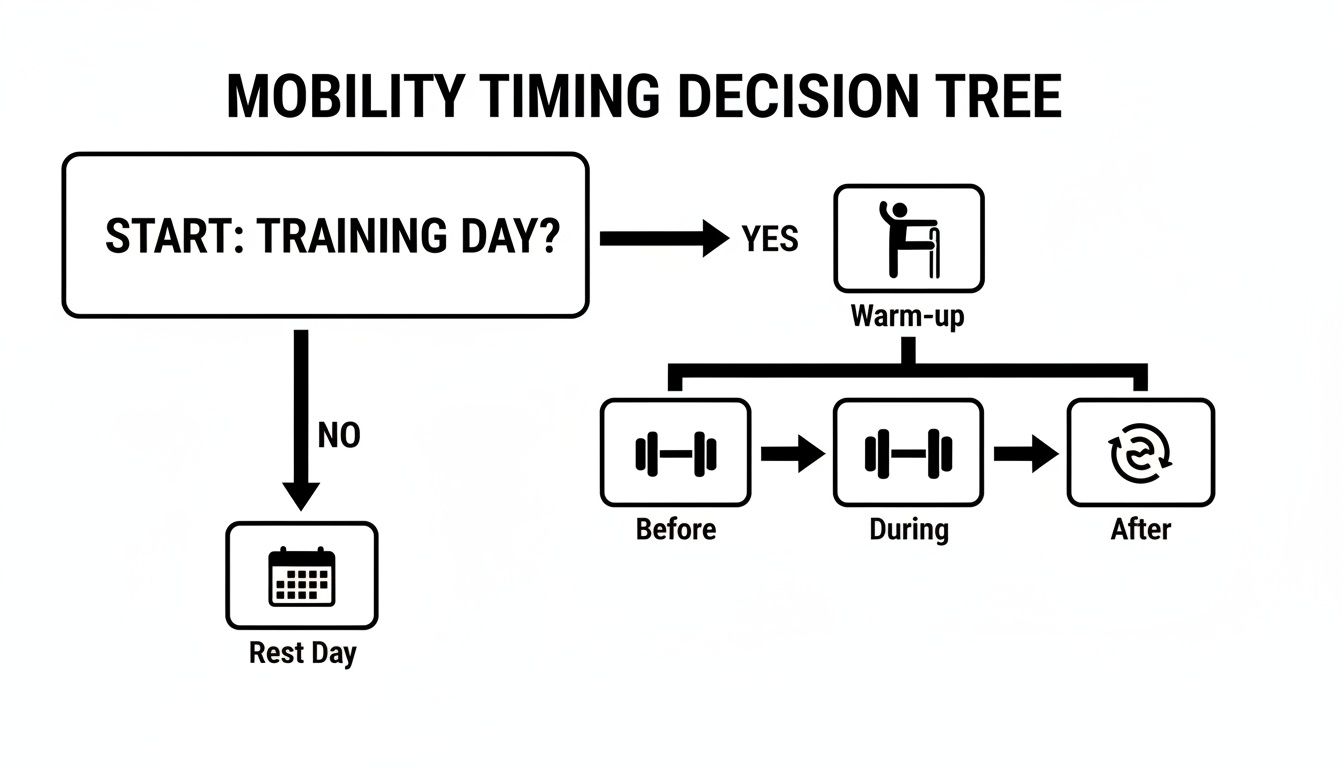
As you can see, mobility has its place on training days—to prep for, enhance, and recover from your lifts—and on rest days to keep the system moving well.
The Problem Area: Hips
Years of sitting shortens your hip flexors and puts your glutes to sleep. This creates a cascade of problems, from nagging lower back pain to a squat that just won't hit depth. The goal is simple: get the hip rotating freely and extending fully again.
Active Mobility Drill: Quadruped Hip CARs (Controlled Articular Rotations)
This is our number one drill for reminding the hip that it's a ball-and-socket joint, designed to move in big, controlled circles.
- Get on all fours, stacking your hands under your shoulders and knees under your hips. Brace your core like you're about to take a punch—no arching your low back.
- Slowly lift one knee and draw it toward your chest.
- From there, open the knee out to the side, going as high as you can without letting your whole body tilt.
- Finally, rotate the hip internally, kicking your heel toward the ceiling before slowly returning to the start.
- Aim for 5-8 slow, deliberate circles in each direction, on each side.
Coaching Insight: The whole point here is to make the circle as big as you can while keeping the rest of your body rock solid. If your spine is wiggling around, your hip isn't doing the work. This is a non-negotiable part of our warm-up on any lower body day.
Flexibility Drill: Pigeon Pose
This classic pose is fantastic for creating a passive stretch through the external rotators of the hip, like the piriformis.
- Start in a push-up position, then bring one knee forward toward the wrist on the same side. Angle your shin so your foot is near the opposite hip.
- Slide your back leg straight behind you.
- Try to keep your hips square to the front as you slowly lower your torso over your front leg.
- Hold for 45-60 seconds, focusing on deep, slow breaths.
Who it's for: Save the Pigeon Pose for after your workout or on a recovery day. It's not for everyone—if you have a history of hip impingement, this pose can sometimes pinch the joint and make things worse.
The Problem Area: Ankles
Limited ankle dorsiflexion—the ability to pull your toes up toward your shin—is a squat-killer. If the ankle can't bend enough, your body will steal that range from somewhere else, usually by lifting your heels or letting your knees cave in.
Active Mobility Drill: Banded Ankle Dorsiflexion
This drill uses a band to actively pull the talus bone back, creating more space for the shin to glide forward over the foot.
- Loop a resistance band around a sturdy anchor point close to the floor.
- Step into the band and place it just below your ankle bones, on the top of your foot.
- Take a step back to create tension and get into a half-kneeling position with the banded leg forward.
- Keeping your heel glued to the floor, drive your knee forward over your toes.
- Perform 12-15 controlled pulses on each side.
Flexibility Drill: Goblet Squat Ankle Stretch
Here, we use a light weight as a counterbalance to help you sink into a deep squat and passively stretch your calf muscles.
- Hold a light kettlebell or dumbbell at your chest.
- Sink down into a deep squat, focusing on keeping your chest up and heels flat on the ground.
- Once you're at the bottom, gently use your elbows to push your knees out and rock your weight from side to side to feel out the tight spots.
- Hold this bottom position for 30-45 seconds.
This is a great tool for people who can already get into a decent squat but need to clean up those last few inches of depth. For more ideas on maintaining functional movement, this guide on 8 essential mobility exercises for seniors is surprisingly useful, as the principles apply to everyone.
The Problem Area: Thoracic Spine
A stiff mid-back is the silent killer of good posture and a strong, safe overhead press. If your T-spine can't extend and rotate properly, your shoulders and lower back have to pick up the slack, which is a recipe for disaster. You can also explore our full library of mobility exercises for beginners for more options.
Active Mobility Drill: Quadruped T-Spine Rotations
This drill is perfect for isolating rotation in the thoracic spine without letting the lower back get involved.
- Start on all fours. Place one hand behind your head, elbow pointing down.
- Keeping your hips perfectly still, rotate your torso to bring that elbow down toward your opposite wrist.
- Reverse the movement, rotating upward until your elbow is pointing straight up to the ceiling. Let your eyes follow your elbow.
- Complete 10-12 smooth reps per side.
Flexibility Drill: Foam Roller Thoracic Extensions
This is a simple way to use a foam roller to passively encourage some extension through your stiff mid-back.
- Lie on your back with a foam roller placed horizontally across your shoulder blades.
- Support your head with your hands and keep your butt on the floor.
- Gently allow your upper back to arch over the roller, taking a big breath as you sink into the stretch.
- Hold for just a few seconds, then shift the roller to a slightly different spot on your mid-back and repeat.
This feels incredible as a cool-down, especially after a long day hunched over a keyboard. Just be sure to avoid this one if you have any acute back pain.
The big takeaway here is to be intentional. Use active drills to prepare your body for movement and use passive drills to restore your range of motion afterward. Be specific, stay consistent, and always choose the right tool for the task at hand.
Frequently Asked Questions About Mobility Training
After working with hundreds of clients, we've noticed the same questions pop up time and again when we get into the weeds of mobility versus flexibility. Here are the straight answers to the questions we hear most often on the gym floor.
How Long Does It Take to Actually Improve Mobility?
With most clients, we expect them to feel a noticeable difference in control and comfort within 4-6 weeks of consistent, focused work. And "consistent" is the magic word here. This means weaving targeted drills into your warm-ups and rest periods at least 3-4 times per week.
The first improvements you’ll feel are usually neurological; your brain simply gets better at controlling the range of motion you already have. Real structural changes, like actually lengthening tissues, take much longer. There are no shortcuts. A realistic expectation is to see this as a long-term practice, not a quick fix.
Is It Possible to Be Too Flexible?
Absolutely. The clinical term is hypermobility, which is just a fancy way of saying someone has a lot of joint laxity but not enough muscle control to keep things stable. It’s the classic case of flexibility getting way ahead of mobility and strength.
For clients dealing with hypermobility, the worst thing they can do is aggressive static stretching. It can make their joints even more unstable and increase the risk of subluxations or dislocations. Their training must be all about building strength and control at the end of their range, not pushing for more flexibility.
To be clear, this isn't an issue for the vast majority of people, who are usually dealing with the opposite problem. But for that small group, prioritizing stability over stretching is an absolute must.
Can I Just Do Yoga Instead of Specific Mobility Drills?
Yoga can be a brilliant practice, but it’s not a one-for-one substitute for targeted mobility training. Many styles of yoga have a strong bias toward flexibility, often holding passive, end-range positions that might not help someone trying to dial in their squat or deadlift.
A good yoga practice will definitely improve body awareness and has some active components, no doubt. But if you have a very specific roadblock—say, poor ankle dorsiflexion that’s killing your squat depth—direct drills are going to get you there much faster. We often suggest our clients use yoga on their recovery days to supplement their strength work, but we also remind them it's not a cure-all. To really own your lifts, you can learn more about how to improve your squat ROM with a more targeted approach.
Stop stretching and start owning your movement. True strength is built on a foundation of active, usable mobility. Your next step is to assess your current limitations and integrate one or two targeted drills into your existing warm-up. Consistency, not intensity, is what will unlock your potential.
Ready to stop guessing and start building a stronger, more resilient body with expert guidance? At OBF Gyms, we integrate targeted mobility work directly into a science-backed strength program to deliver measurable results. Book your consultation today at https://www.obfgyms.com.